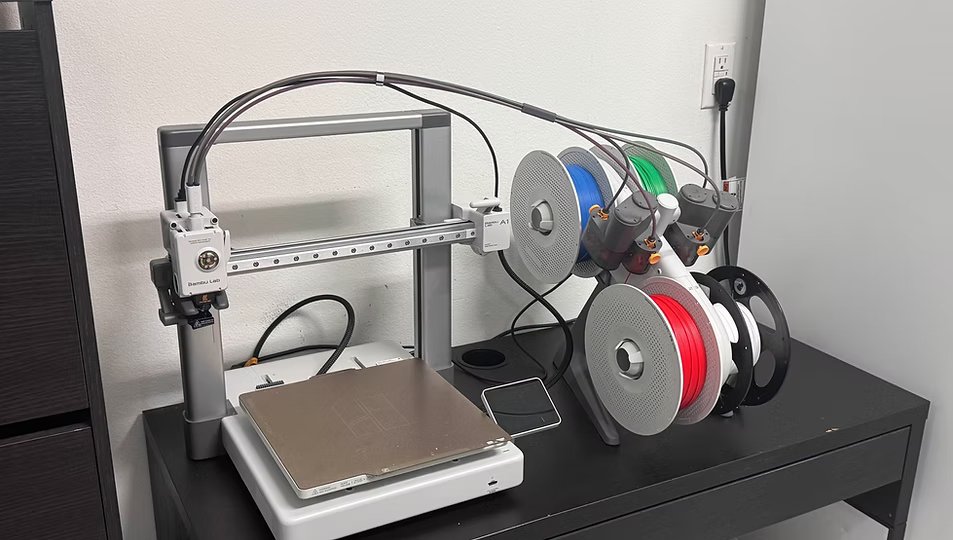
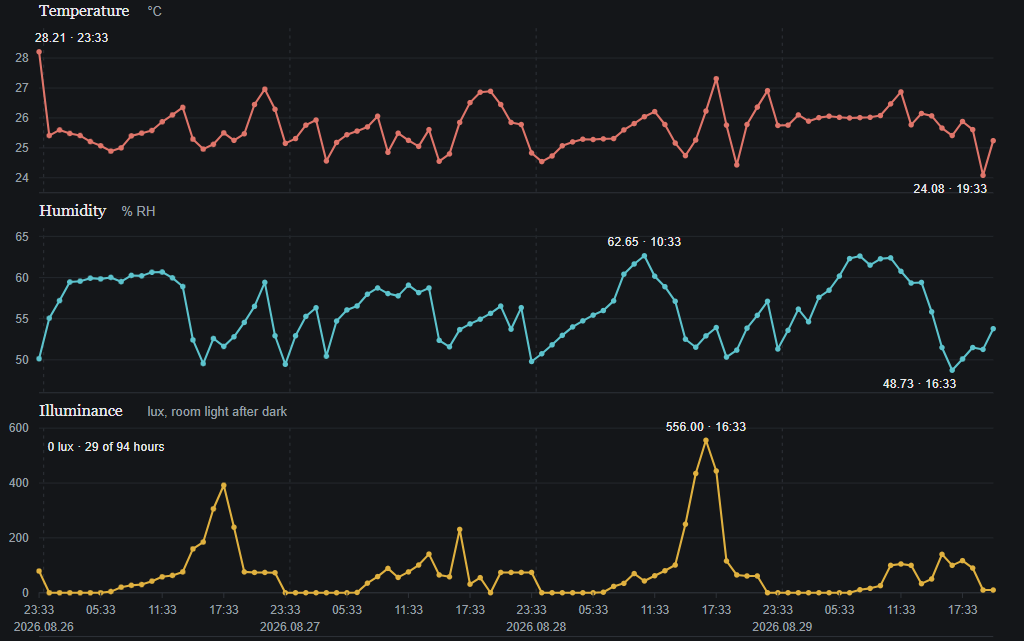
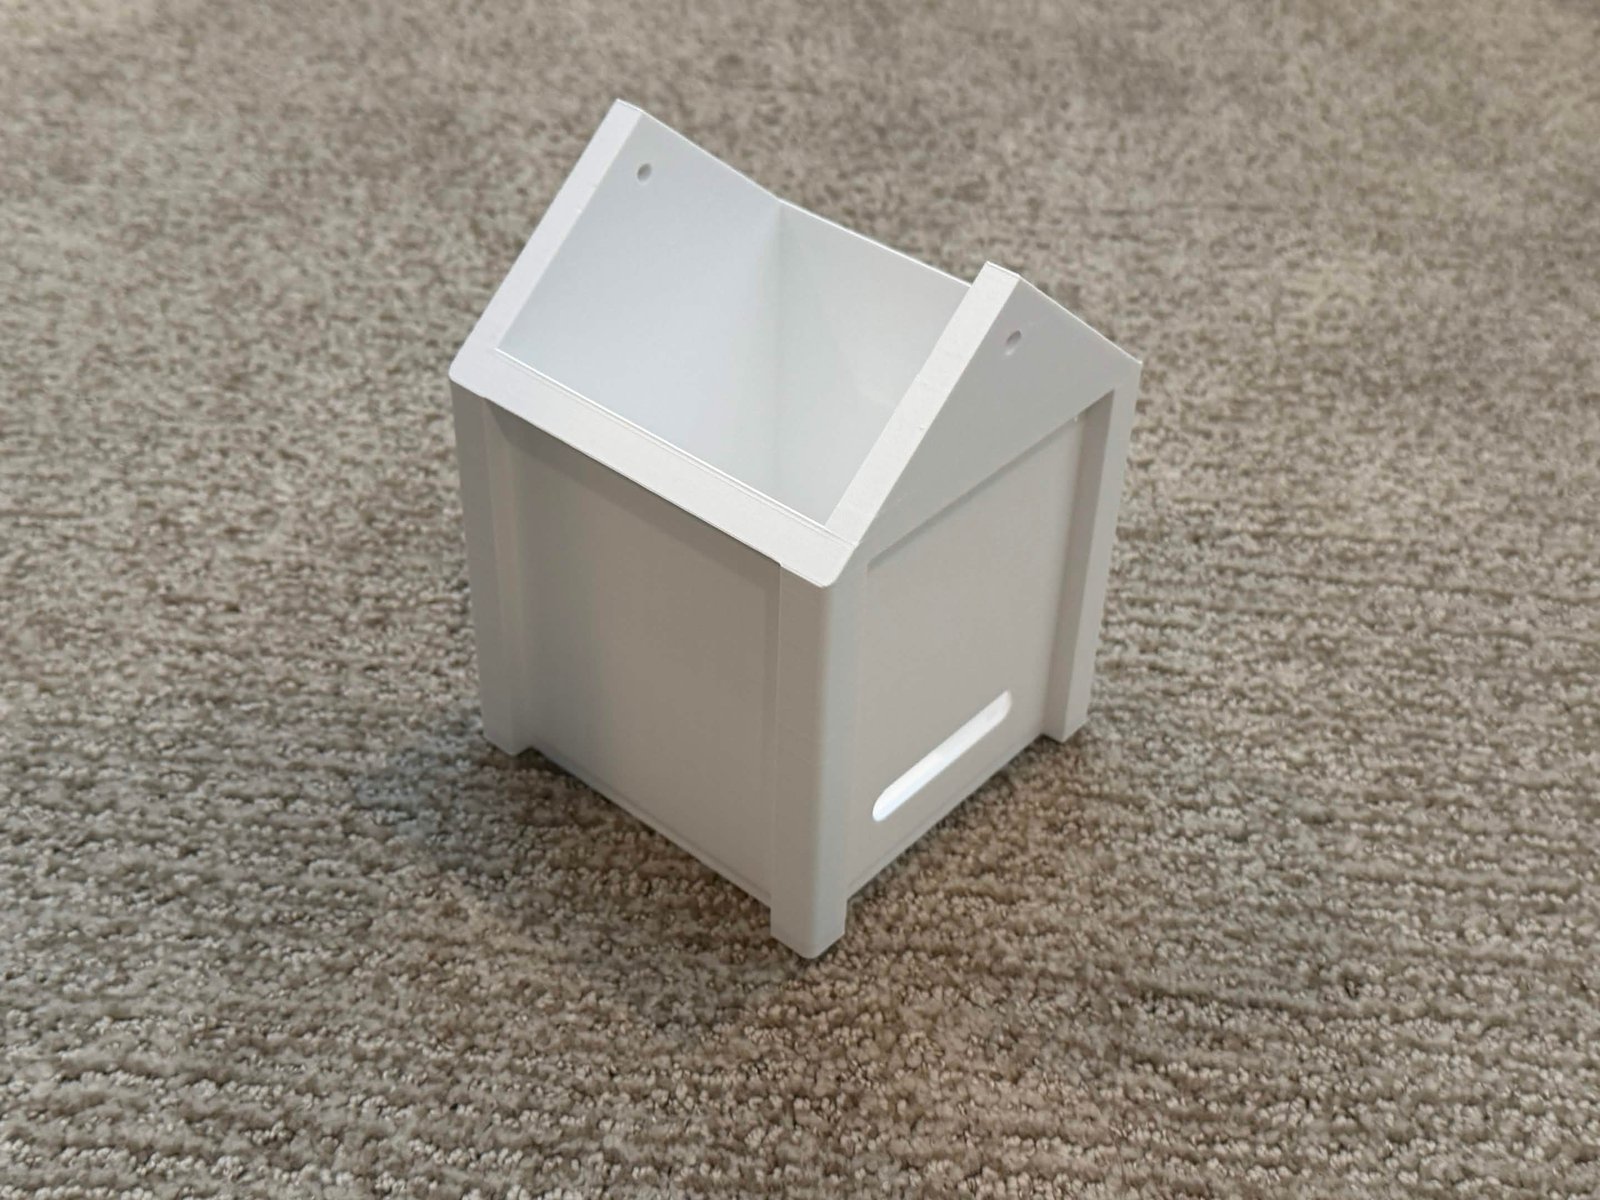
A nest is the central record of this project. Each nest is a 3D-printed box placed in a backyard or garden and paired with its own page on this website, where the observations made against it are gathered over time. Whoever registers a nest becomes its monitor. They place it, watch it, and report what they see. The page allocated to a nest holds its location, the date it became active, the date of its most recent report, an image carousel, and a running count of the reports submitted against it.
Every nest contributes a small stream of presence and absence records to a much larger picture. Because the boxes are kept free of food and water and are spread across many separate gardens, the observations they produce are reasonably comparable and are not biased toward sites that have been baited. A long run of reports showing no birds is as valuable as a run showing occupancy, since both describe how the local population is faring and where suitable habitat may be recovering. Aggregated across every monitored nest this data builds a continuous record of small shrubland bird activity across Southern California, which is difficult to obtain by other means given how fragmented the remaining habitat has become.
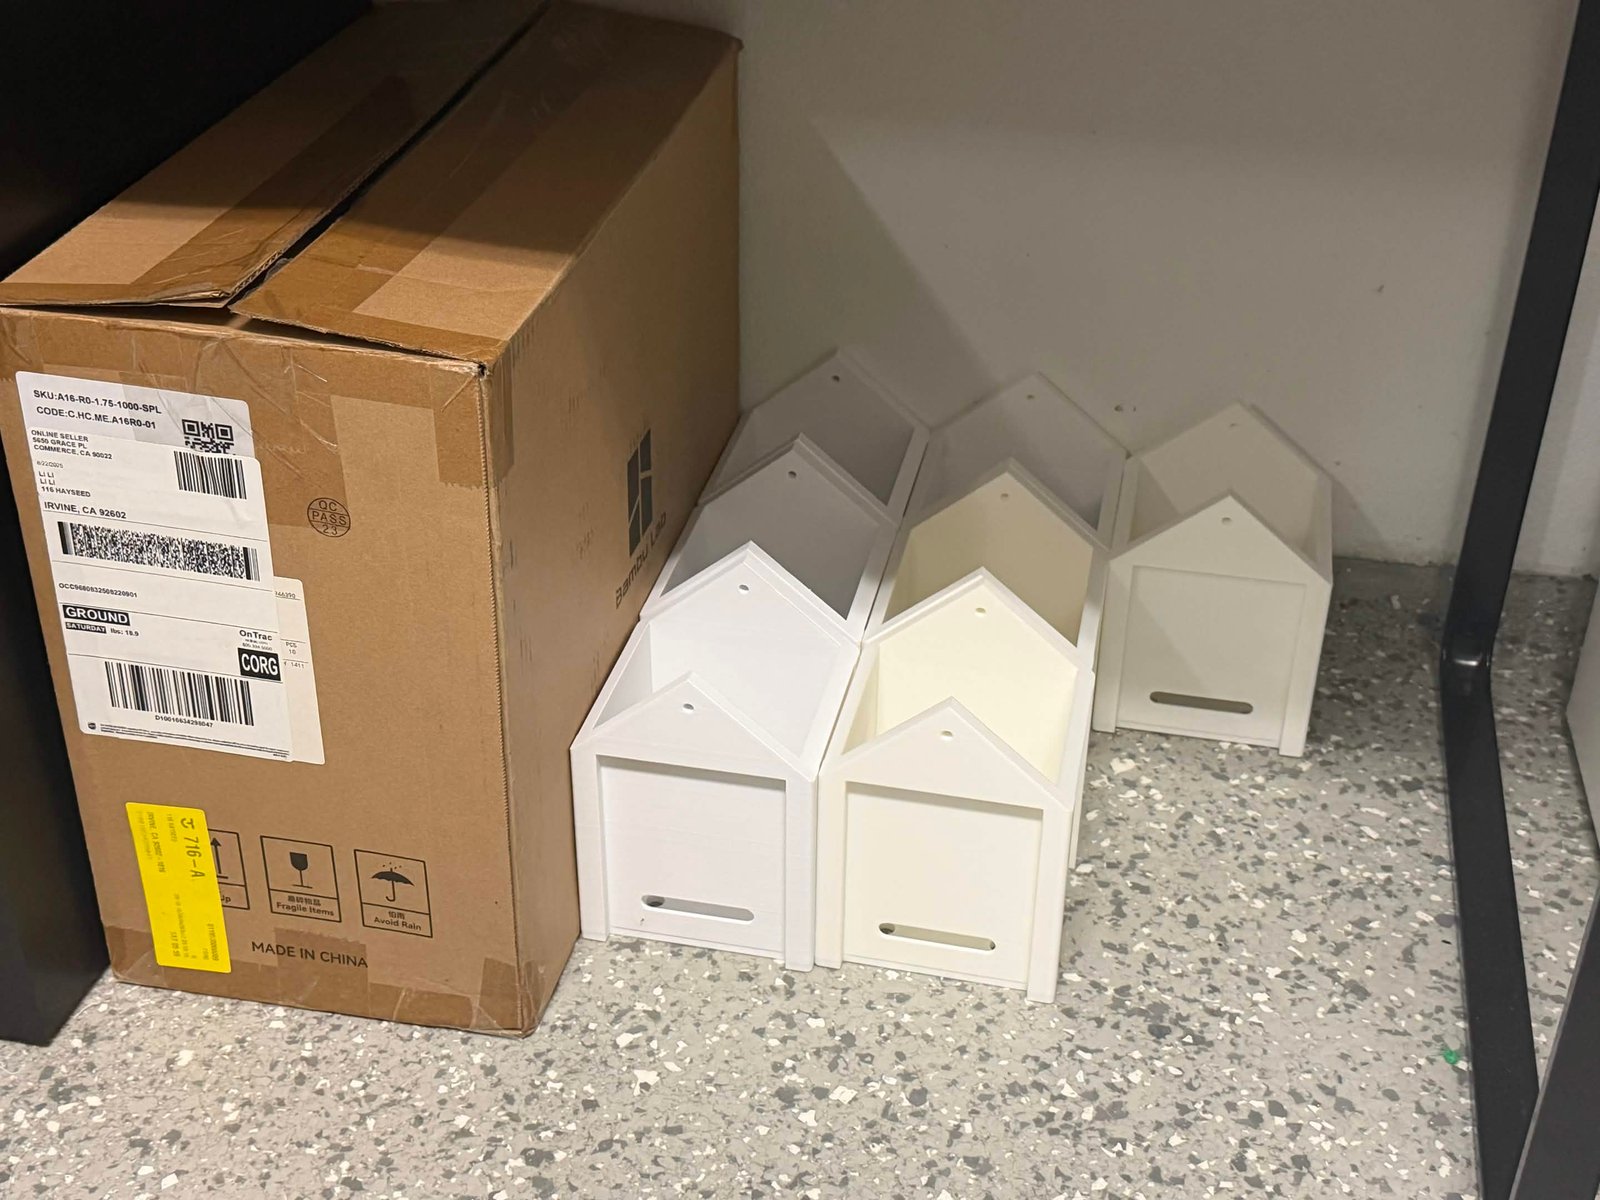
- Request a nest. Email the distributor for your region and await a reply; this usually takes about a week, and they will arrange a pickup time and location along with further instructions. For the 92602 area write to lilinyang99@gmail.com. Anyone who already owns a 3D printer may instead print a nest from the files on the Project Overview page.
- Place the nest. Position it roughly one metre off the ground on top of a bush or shrub in a front lawn or backyard so as to mimic the natural nesting sites of the birds, the boxes being light enough that they will not fall. A nest may also be set on the ground or hung from a tree or other support.
- Keep it plain. Leave out food and water so as not to bias the data, and avoid heavy decoration, which may deter the birds. A little dried leaf and stick material, or an artificial equivalent, is optional and may help emulate a natural nest.
- Register an account. Sign up through the Register link in the top bar if you don't have an account yet.
- Register the nest. Open the nest registration form and fill out the required information, which includes a title, the ZIP code where the nest is placed, a description, and one or more images. A street address is not required; locations are only ever recorded and shown to ZIP-code precision.
- Wait for approval. New nests are reviewed by staff before they appear publicly, a process which usually takes about a week.
- Report regularly. Once the nest is live, visit its page and use the report function a few times a week to record whether a bird has been observed, ticking the occupancy flag when the nest is occupied and leaving it unticked when it's not.
- Add detail where useful. Reports may carry written notes and images, which give context that a simple occupancy flag cannot.
- Mind whose nest it is. Only reports posted on your own nest count toward its total. Observations on other monitors' nests are still welcome as comments, but they don't change those totals.
- Watch the data accumulate. The website aggregates reports automatically and updates the nest's counters and dates, and the same figures feed the project-wide data dashboard.
Don't be discouraged by quiet boxes. The test batch returned no birds for several months, and a long run of empty reports is itself a valid and useful outcome.